Photographs
The rule underneath everything on this page: your original photograph is never altered. The file goes into the newsletter as it is, and every change you make is a recipe applied when the page is drawn.
Getting a picture onto the page
Insert a picture… (Ctrl+Shift+P), or drag the file onto the page. Dragging is always the quick way and never the only way — every command in TrestleBoard can be reached without a mouse.
Making the writing flow around it
Choose the picture and take Make the writing flow around it (Ctrl+Shift+W). The paragraphs break around the picture and close up again behind it if you move it away.
It came out dark
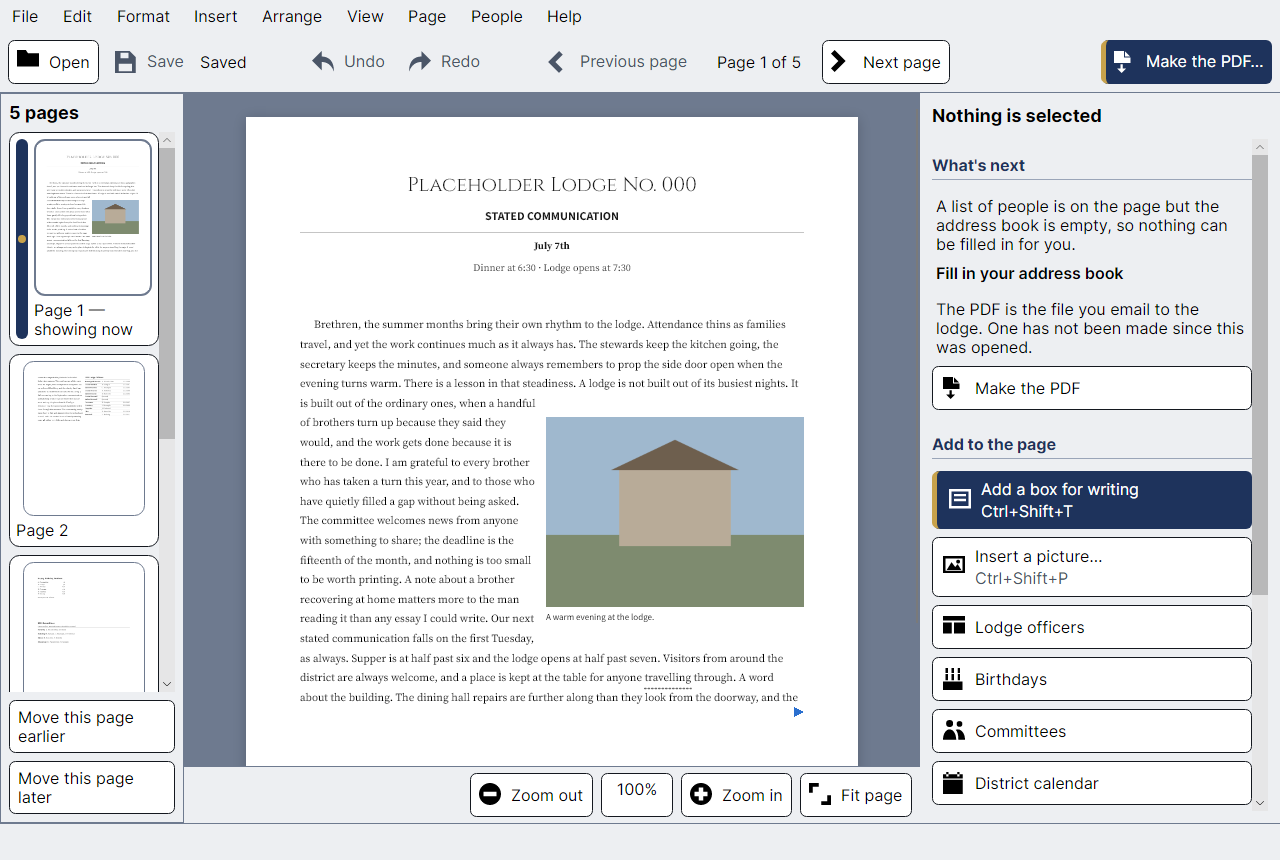
Choose it and press Fix this picture (Ctrl+Shift+F). That is the whole answer for most hall photographs — it evens out the light without asking you anything.
If it needs more, Change how it looks… (Ctrl+Shift+A) has three large sliders — brighter or darker, more or less contrast, more or less colour — that apply as you drag them, with a quarter-turn button and a Start over that puts the original back.
The wrong part of it is showing
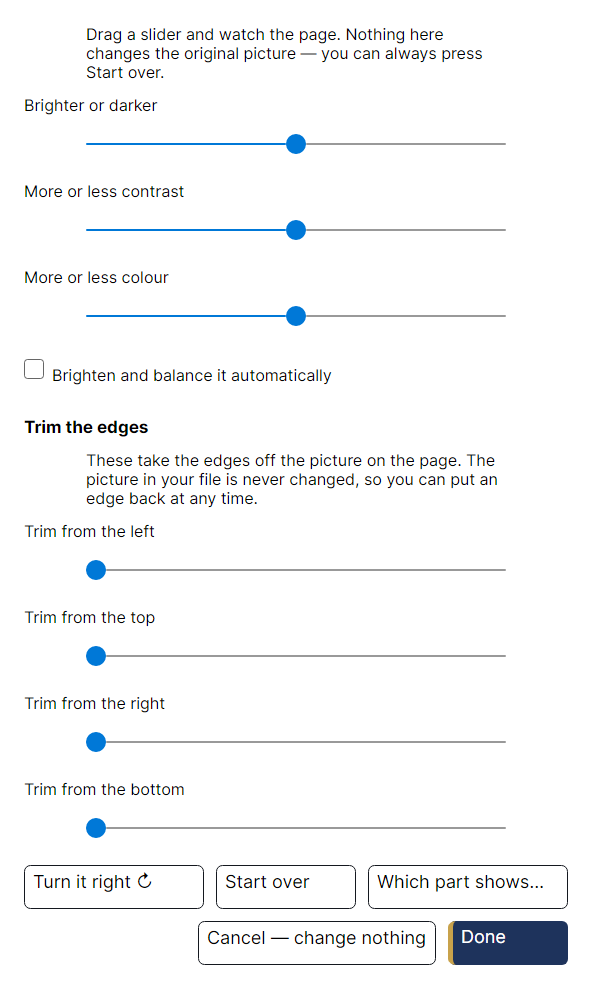
Choose which part shows… moves the picture behind its frame rather than resizing either, so you can bring a face into the middle without changing the layout around it.
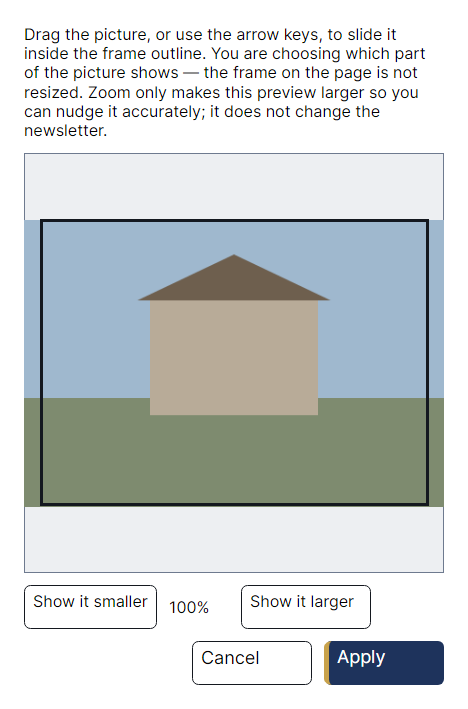
Dragging a corner makes the picture larger or smaller and keeps its shape. Dragging an edge changes the shape of the frame, which is how you crop. Two different jobs, two different handles.
Swapping one picture for another
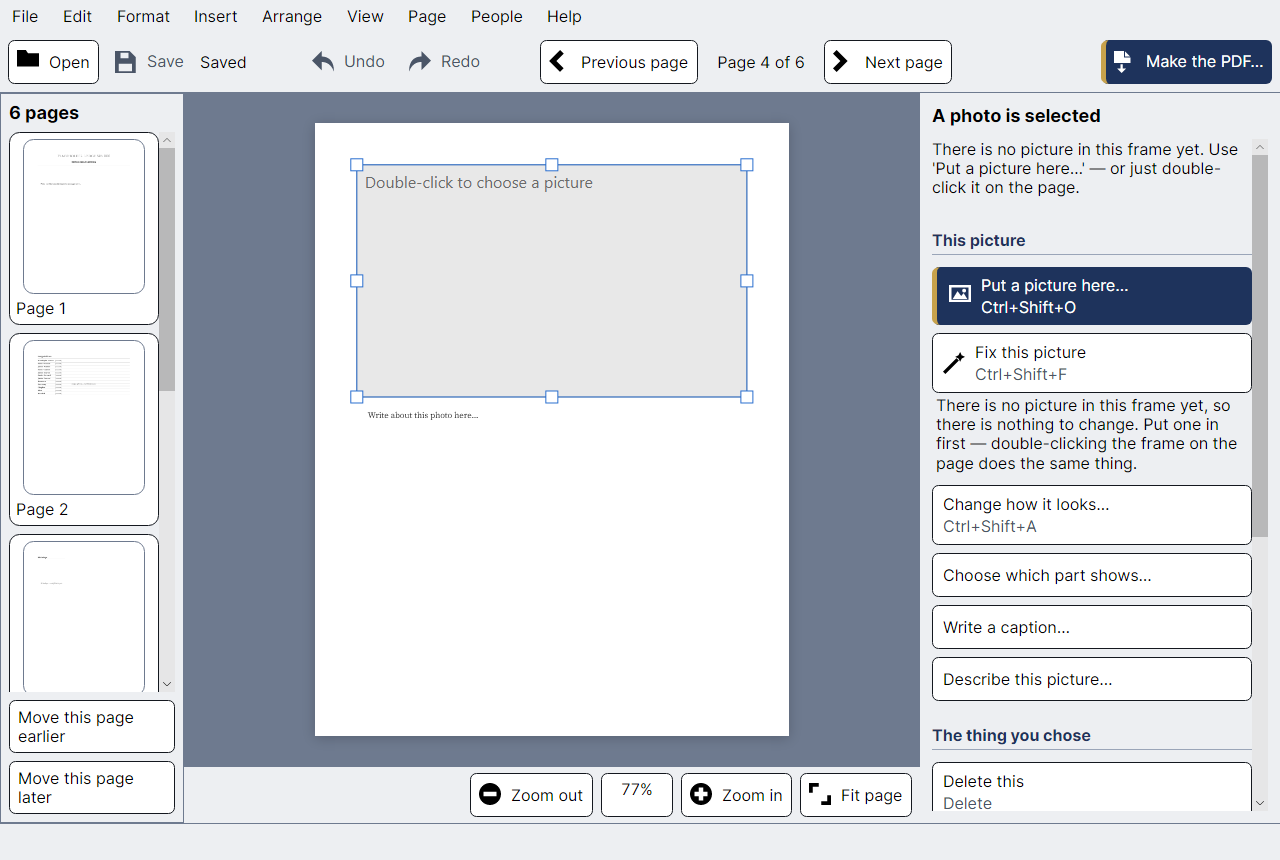
Swap this picture… (Ctrl+Shift+O) puts a different photograph in the same frame, keeping the size, the position and the caption. This is what template pages are for: they arrive holding empty frames that say what belongs in them.
Captions, and describing a picture
- Change the caption… — the line printed under the picture, which everyone reading the newsletter sees.
- Describe this picture… — a sentence for somebody using a screen reader, which is not printed. It is the difference between a brother who cannot see the photograph knowing what was on the page and being told only that there was an image.